
How to Build a Mud Kitchen for Your Toddler
Build a Mud Kitchen for Your Toddler: A Fun Outdoor Adventure!
Today, we want to share an amazing outdoor adventure you can create for your little one: building a mud kitchen! You might be wondering, what on earth is a mud kitchen? Well, stick around, because we're about to spill the beans and show you how to make it happen! So, let's dive right in and create some messy, muddy memories together
Affiliate Disclosure: When you buy through links on our site, we may earn an affiliate commission at no cost to you.
What is a Mud Kitchen? Exploring Muddy Magic
Before we jump into the messy fun, let me explain what a mud kitchen is. Imagine a mini outdoor play kitchen but with a twist—it's all about mud! A mud kitchen is a special play area where our little ones can let their imaginations run wild, mixing mud, water, and nature's treasures to create their very own culinary masterpieces. It's messy, it's creative, and it's loads of fun!
Why a Mud Kitchen? It's More Than Just Mud!
Okay, so you might be wondering why a mud kitchen is such a big deal. Well, it's not just about getting muddy (although that's pretty awesome too!). A mud kitchen provides endless benefits for our little ones. It helps them explore their senses, sparks their creativity, and connects them with nature. Plus, it's a whole lot of fun!
1. Planning and Designing Your Mud Kitchen
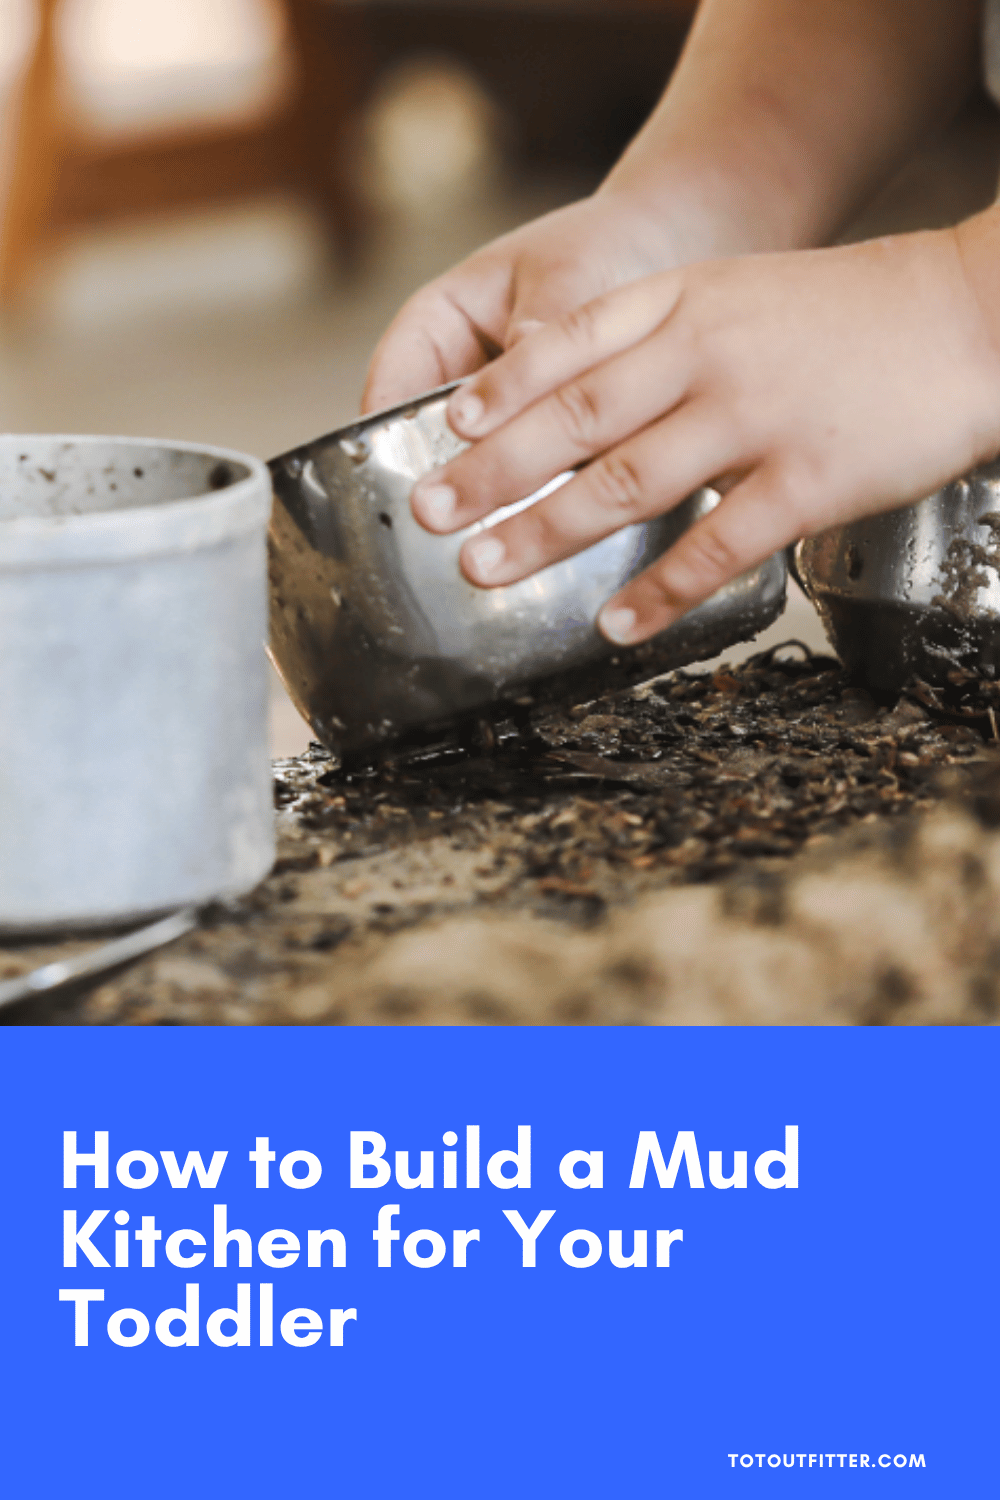
Okay, let's start with the basics. A mud kitchen is like a mini outdoor kitchen for kids. It's a magical space where your toddler can cook up all sorts of imaginary dishes using mud, water, and natural materials. Think of it as a messy, creative, and super fun play area that your little chef will absolutely adore!
Find the perfect spot in your backyard

First things first, let's find the perfect spot for your mud kitchen. Look around your backyard and choose an area where your toddler can have plenty of room to play and explore. Make sure it's a shady spot to keep them cool on sunny days.
Choosing materials that are safe and durable
Now, let's talk materials. You'll want to use safe and durable materials for your mud kitchen. Think about using things like old wooden pallets or planks for the frame and surfaces. These materials are sturdy and can handle some serious mud pie action!
Let's design it together!
Designing your mud kitchen is like being an architect for your toddler's playtime paradise. Think about how you want the kitchen to look and function. Include different areas for mixing mud, washing hands, and storing utensils. Get your little one involved in the planning process too. Ask them what colors they want or what special features they'd like to have. It's a great way to spark their imagination and make it feel extra special!
Safety first!
As parents, safety is always a top priority. When building your mud kitchen, make sure to sand down any rough edges to prevent any boo-boos. You can also use child-safe paints or sealants to protect the wood. And don't forget to choose a safe location for the mud kitchen, away from any hazards like steep slopes or busy roads.
2. Gathering the Materials
Now that you have a plan in mind, it's time to gather the materials for your mud kitchen. Don't worry, you won't need anything fancy. Here's a list of the basics:
Wooden pallets or planks for the frame and surfaces
Nails, screws, or brackets to hold it all together
Bowls, pots, and utensils for your little chef
A hose or bucket for the water source
Some good ol' mud and water!
Fun extras to make it unique

If you want to take your mud kitchen to the next level, here are some fun extras you can consider: How about a chalkboard or whiteboard to write down your toddler's daily specials? Hooks or baskets for hanging and organizing utensils and accessories. Planters or herb gardens to add a touch of nature to the kitchen.
Where to find the materials
Finding the materials for your mud kitchen is easier than you might think. Check out local hardware stores, home improvement centers, or even online marketplaces. You can also get creative and repurpose materials by checking out recycling centers or asking friends and neighbors if they have any spare wood or utensils lying around.
3. Building the Mud Kitchen
Now comes the fun part—building your mud kitchen! Don't worry if you're not a construction expert. We'll break it down into simple steps that even beginners can follow. Let's get started!
Prepare the area: Clear the spot where you want to set up your mud kitchen. Make sure the ground is level and free of any rocks or debris that could get in the way.
Construct the frame: Use those wooden pallets or planks to build the frame of your mud kitchen. Nail or screw them together to make a sturdy structure. It's like building with giant Legos!
Add work surfaces: Attach more wooden planks onto the frame to create the work surfaces. Make sure to leave enough space for bowls, pots, and utensils. You don't want things to get too crowded in the kitchen!
Incorporate a water source: Your little chef will need water to whip up their muddy masterpieces. You can either connect a hose or have a bucket nearby filled with water. Just make sure it's easily accessible and safe to use.
Finishing touches: Smooth out any rough edges using sandpaper to keep those tiny fingers safe. If you're feeling extra creative, you can paint the mud kitchen with bright and cheerful colors. Just make sure to use child-safe and weather-resistant paints.
Tips for construction
Get your little one involved in the building process. They'll love being your helper and feel a sense of pride in their creation. Use child-sized tools or adapt adult tools to make it easier for your toddler to join in the fun. Give the mud kitchen a little shake to make sure it's sturdy before letting your little one loose.
4. Adding the Finishing Touches
Your mud kitchen is almost ready, but let's add some pizzazz! Get your creative juices flowing and add these finishing touches to make it extra special:
Let's make it colorful and exciting!
Grab those paintbrushes and make your mud kitchen a vibrant masterpiece! You can paint it in your toddler's favorite colors or go for a rainbow theme. Let their imagination run wild!
Personalize your mud kitchen
Make the mud kitchen feel like your little one's own special space. Hang a sign with their name on it or attach a picture frame for their favorite family photo. These little touches will make it feel extra cozy and inviting.
Keep things organized with clever storage ideas
To keep the mud kitchen tidy and organized, incorporate some clever storage ideas. Hang hooks or attach baskets to hold utensils and accessories. You can even repurpose old spice racks or small shelves to keep things neat and within reach.
5. Setting Up the Outdoor Area
Now that your mud kitchen is complete, it's time to set up the outdoor area for your toddler's mud-tastic adventures! Here's what you need to consider:
Make it a safe and inviting space for your toddler
Safety first! Take a walk around the area and remove any hazards like sharp objects, rocks, or branches. Create a boundary using a fence or natural boundaries to keep your toddler within the play area. You can also add a cushioning layer of sand, gravel, or rubber mulch to soften any falls.
What about rainy days?

No worries if the weather isn't cooperating. Set up a shade structure like an umbrella or canopy to keep your little one dry during rainy days. You can also consider creating a modified indoor mud kitchen using a waterproof mat or tarp to contain the mess.
Set some simple rules for playtime
Teach your toddler to respect the mud kitchen and play cooperatively with others. Establish rules like using clean water for handwashing and not putting mud in their mouths. It's all about setting boundaries and ensuring a safe and enjoyable playtime.
6. Encouraging Play and Learning
Now that your mud kitchen is ready, it's time to let the fun begin! Here are some ideas to inspire imaginative play and learning opportunities:
Let's cook up some fun!

Encourage your little chef to whip up imaginary meals using mud, water, and natural materials like leaves or flowers. They can create their own recipes and serve up culinary delights for their stuffed animal friends or even invite their buddies for a garden tea party!
Sensory play ideas to explore
Mud is all about sensory play! Let your toddler dive in and explore the different textures, temperatures, and consistencies of mud. They can squish it, mold it, and let their hands get wonderfully messy. You can also plant herbs or flowers near the mud kitchen to introduce scents and engage their sense of smell.
Learning through play
Your mud kitchen is not just about fun—it's also a fantastic learning opportunity! Here are some ways your little one can learn while playing:
Counting and measuring: Use measuring cups, spoons, or natural materials like stones or pinecones to introduce basic math concepts like counting, measuring, and comparing sizes.
Science experiments: Let your toddler mix different ingredients and observe how they change consistency or color. Talk about cause and effect, and let their curiosity flourish!
Safety tips for worry-free playtime
While mud play is all about getting messy, safety is still important. Here are some tips to keep in mind:
Supervise your toddler at all times during playtime to ensure their safety.
Teach them to wash their hands before and after playing in the mud kitchen.
Make sure all utensils and accessories are age-appropriate and don't pose any choking hazards.
Regularly inspect the mud kitchen for wear or damage and make necessary repairs or replacements.
Congratulations! You've embarked on a fun and exciting adventure by building a mud kitchen for your toddler. With a little planning, creativity, and some messy play, you've created a space where your child can explore, imagine, and learn through the wonders of mud! So, grab those tools, get messy, and watch your little one's eyes light up with joy in their very own mud kitchen.
FAQs
Is it safe for my toddler to play with mud? Absolutely! Playing with mud is not only safe but also beneficial for your toddler's development. Just make sure to supervise them and teach them basic hygiene practices like washing their hands.
Can I build a mud kitchen indoors? While it's more common to build a mud kitchen outdoors, you can create a modified indoor version using a waterproof mat or tarp to contain the mess. Remember to protect the surrounding area and choose a suitable location for easy cleanup.
What if I don't have a backyard? Don't worry! You can still build a mud kitchen in a small outdoor space like a balcony or even take it to a local park. Just make sure to check the rules and regulations of the park before setting up your mud kitchen.
How can I clean up after mud play? Cleaning up after mud play is easier than you might think. Allow the mud to dry, then brush off or hose down the mud from the surfaces. For clothes, pre-soak them in cold water before washing as usual.
Can I let my toddler play with the mud kitchen alone? It's always best to supervise your toddler during playtime, especially when they're playing with water and mud. This ensures their safety and allows you to engage in their imaginative play.
Don't forget to enjoy this muddy adventure with your little one and create memories that will last a lifetime!
Disclaimer: The information presented is purely to share our experience and for entertainment purposes. Tot Outfitters assumes no legal liability for the accuracy, completeness, or usefulness of any information, apparatus, product or process disclosed on this website or linked to this website. The author and Tot Outfitters disclaim liability for any damage, mishap, or injury that may occur from engaging in any activities or ideas from this site.